


Whether you’re new to plant-based milk or an experienced vegan cook looking to learn how to make soy milk from scratch, this guide offers everything you need to get started.
Throughout this post, you’ll learn:
- The nutritional profile of freshly made soy milk
- A step-by-step recipe for homemade soy milk
- Creative flavour variations to enhance your soy milk
- Tips for storage and best practices
Soy milk has in the last ten years, established itself as a leading dairy-free alternative in the competitive plant-based milk market.
Health-conscious consumers increasingly choose soy milk for its exceptional nutritional profile, particularly its protein content, which rivals cow’s milk.
Unlike many other dairy alternatives that fall short nutritionally, soy milk delivers comparable—and in many cases superior—health benefits to traditional dairy milk.
What are the key advantages of soy milk?
1. It matches cow’s milk protein levels gram for gram.
2. It provides essential nutrients without lactose.
3. It offers a complete protein source for vegetarians and vegans.
4. It contains fewer calories than whole milk.
5. It delivers heart-healthy fats instead of saturated fat.
As more people seek out lactose-free options, this beverage stands out for its:
- Versatility in cooking and baking
- Creamy texture similar to dairy milk
- Wide availability in stores and coffee shops
- Variety of flavours and formulations
In the following sections, we’ll explore the specific health advantages that have propelled soy milk from a niche product to a mainstream beverage choice, backed by scientific research and nutritional data.
What is soy milk, and why make it at home?
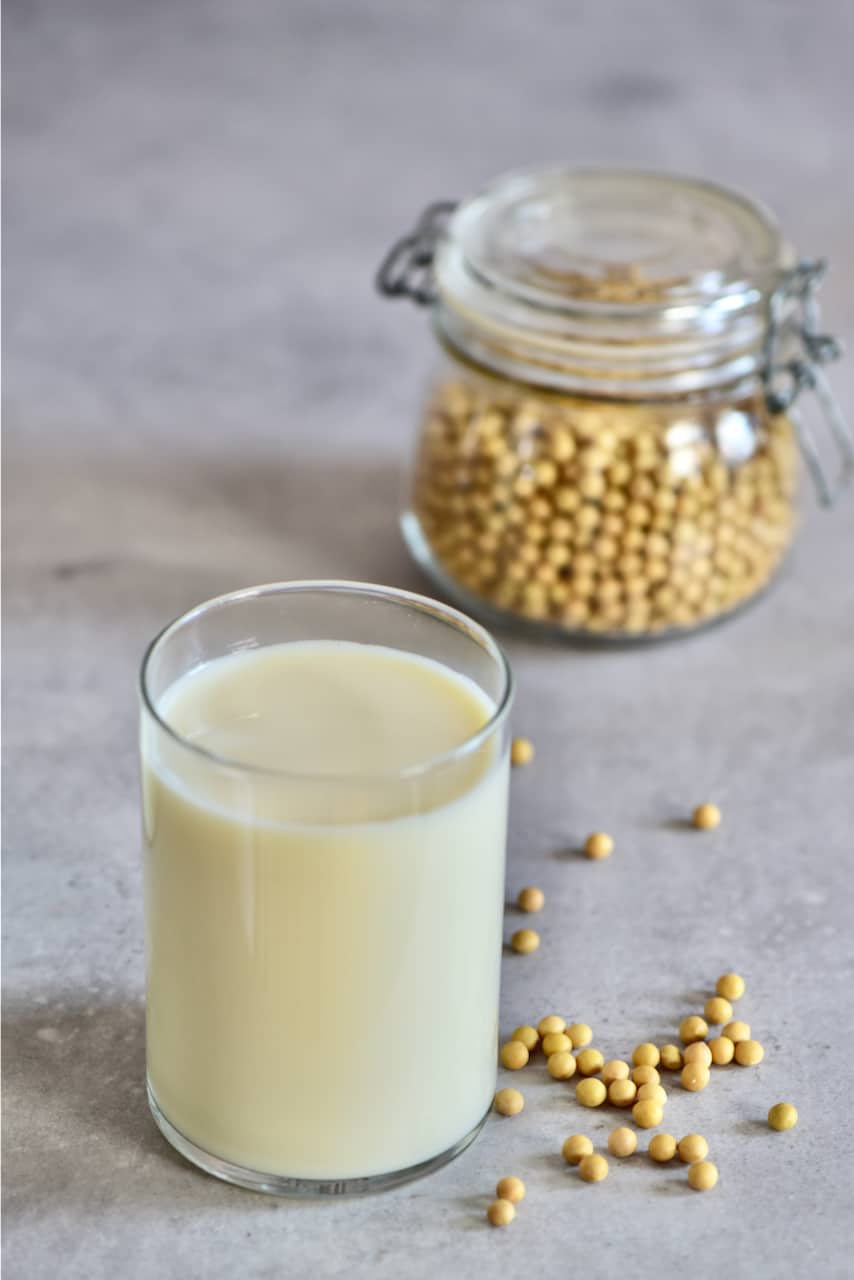
When making soy milk, you blend soaked soybeans with water, creating a smooth, creamy liquid. As you blend, the insoluble fibre separates, leaving behind silky milk.
Many store-bought soy milks contain additives like preservatives and thickeners that can disrupt digestion, especially if consumed frequently.
By preparing soy milk at home, you control the ingredients, avoiding unnecessary additives and ensuring the milk remains pure and healthy for your gut.
Making soy milk at home can be significantly more cost-effective than purchasing store-bought options, especially when buying soybeans in bulk.
You can also boost the nutritional value of your homemade milk by mixing in vegan collagen powder. For those who consume animal products, adding bone broth can provide further benefits to gut health.
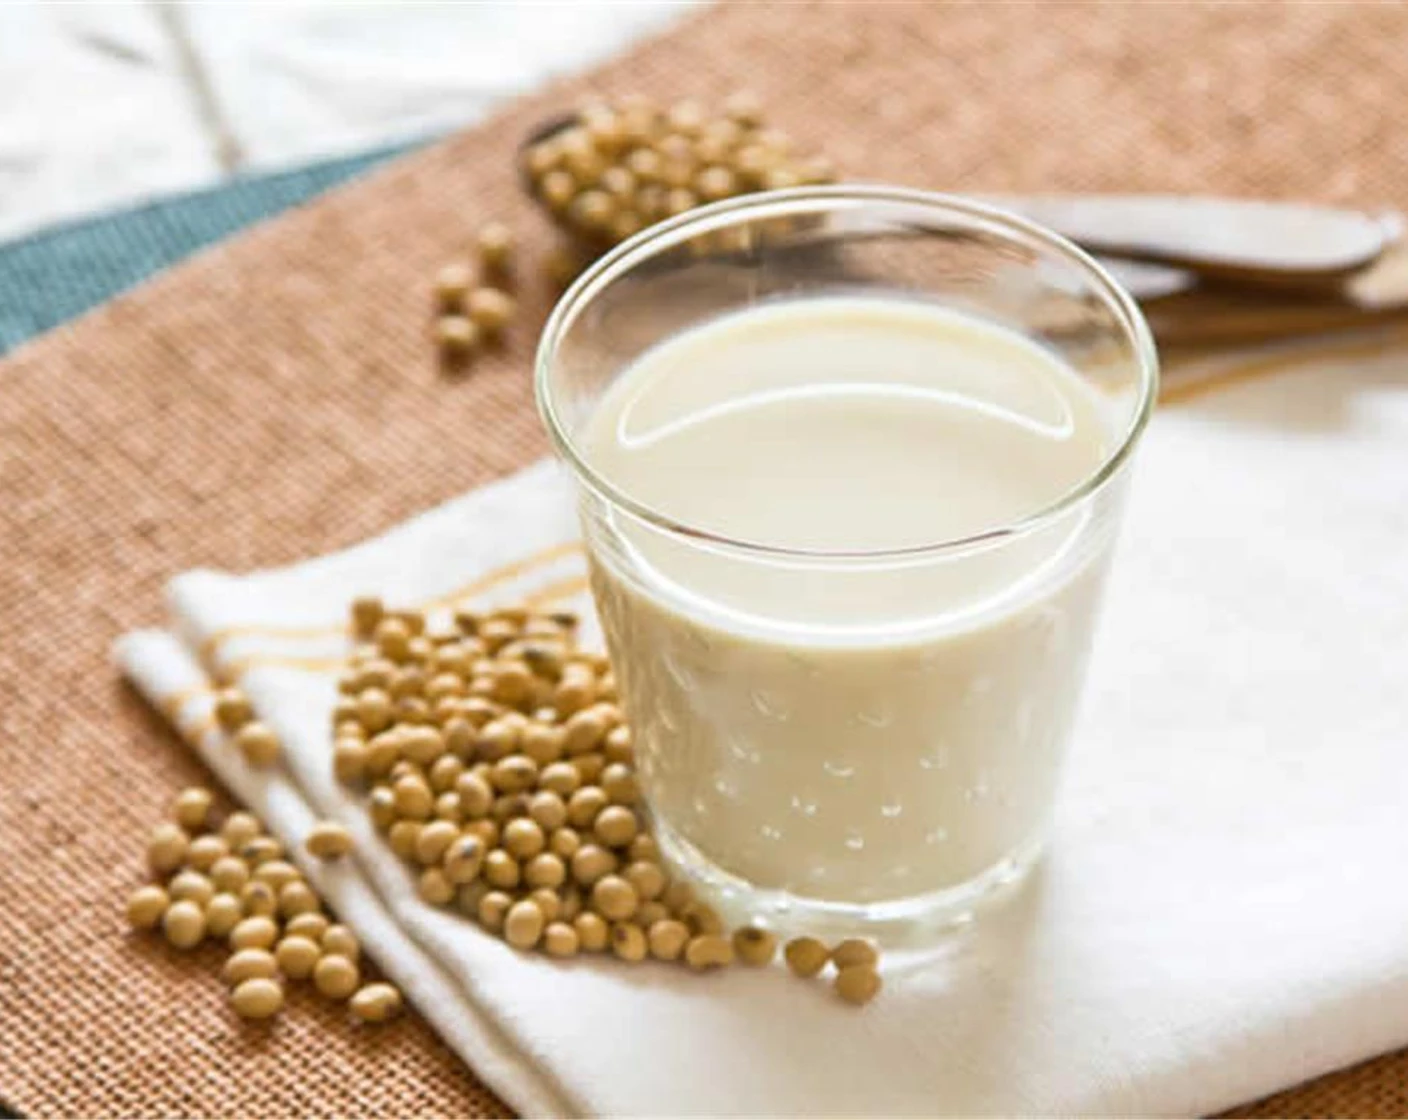
Benefits of Soy Milk
Soy milk offers several advantages over dairy milk. While a serving of whole cow’s milk may contain 12g of carbohydrates, 8g of sugars, 8g of protein, and 8g of fat, unsweetened soy milk provides 4g of carbs, 1g of sugars, 4g of fat, and 7g of protein. Additionally, soy milk has fewer calories than whole milk and is comparable to 1% milk in terms of calories.
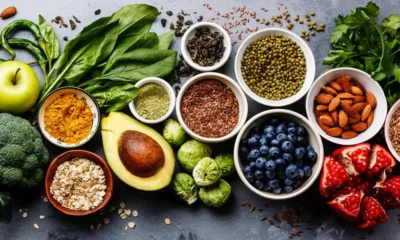
Soy milk is a complete protein, containing all nine essential amino acids. It also offers a balanced ratio of carbohydrates and fats, making it a nutritious choice. As a plant-based milk, soy milk is naturally low in saturated fat and cholesterol-free, which benefits heart health and weight management.
For individuals with lactose intolerance, soy milk is a suitable alternative due to its lactose-free nature. Homemade soy milk is also a good source of vitamins and minerals, including vitamin A and potassium.
Soy milk contains isoflavones, which have been shown to have antioxidant properties. These isoflavones may help reduce inflammation and even lower the risk of certain diseases and cancers.
Also, some research suggests that consuming soy protein daily can contribute to a reduction in harmful LDL cholesterol levels.
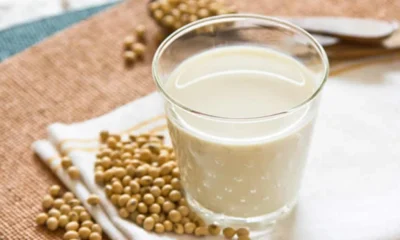
Soy Milk Recipe
This homemade recipe is a simple, cost-effective, and healthy lactose-free alternative that’s rich in protein. It’s perfect for vegans and those seeking dairy-free options.
Equipment
- Nut milk bag
- Large glass bottle
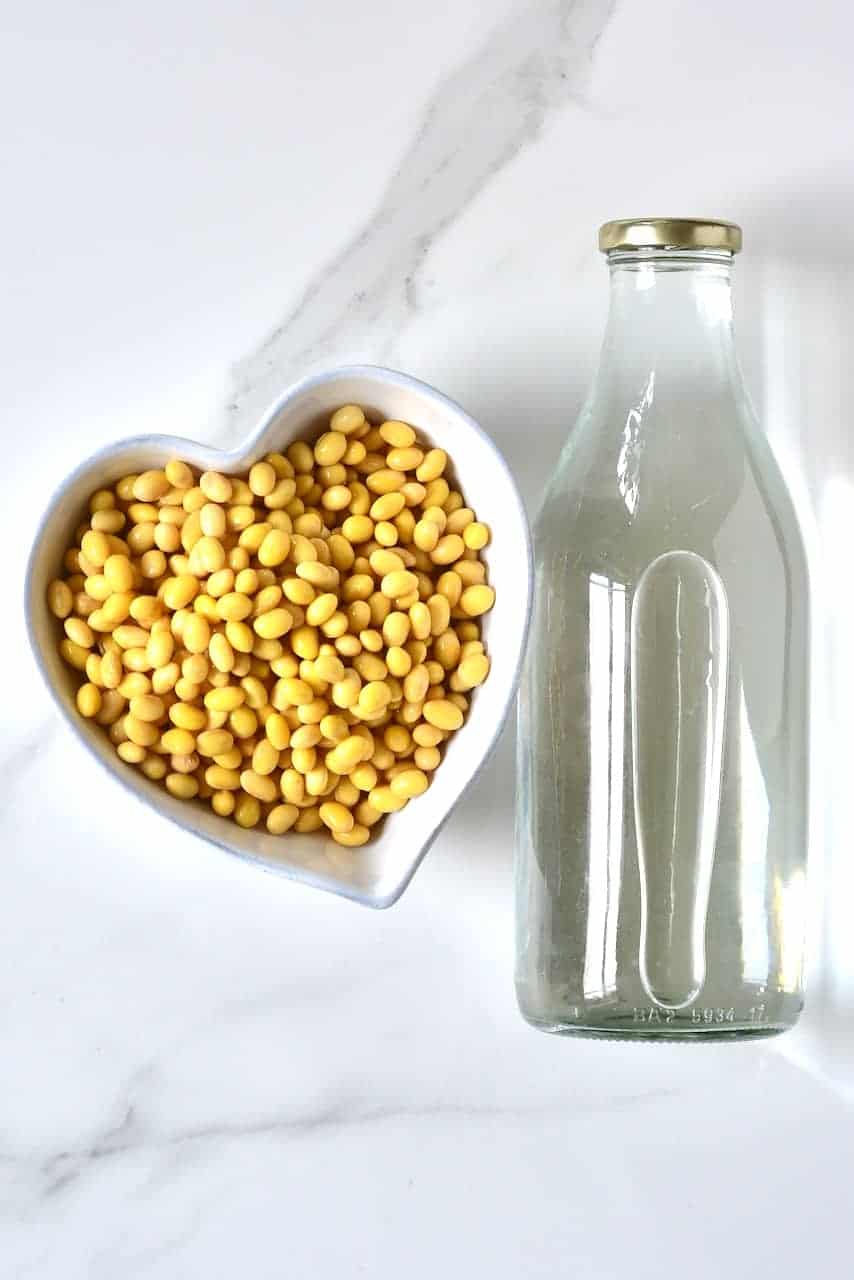
Ingredients
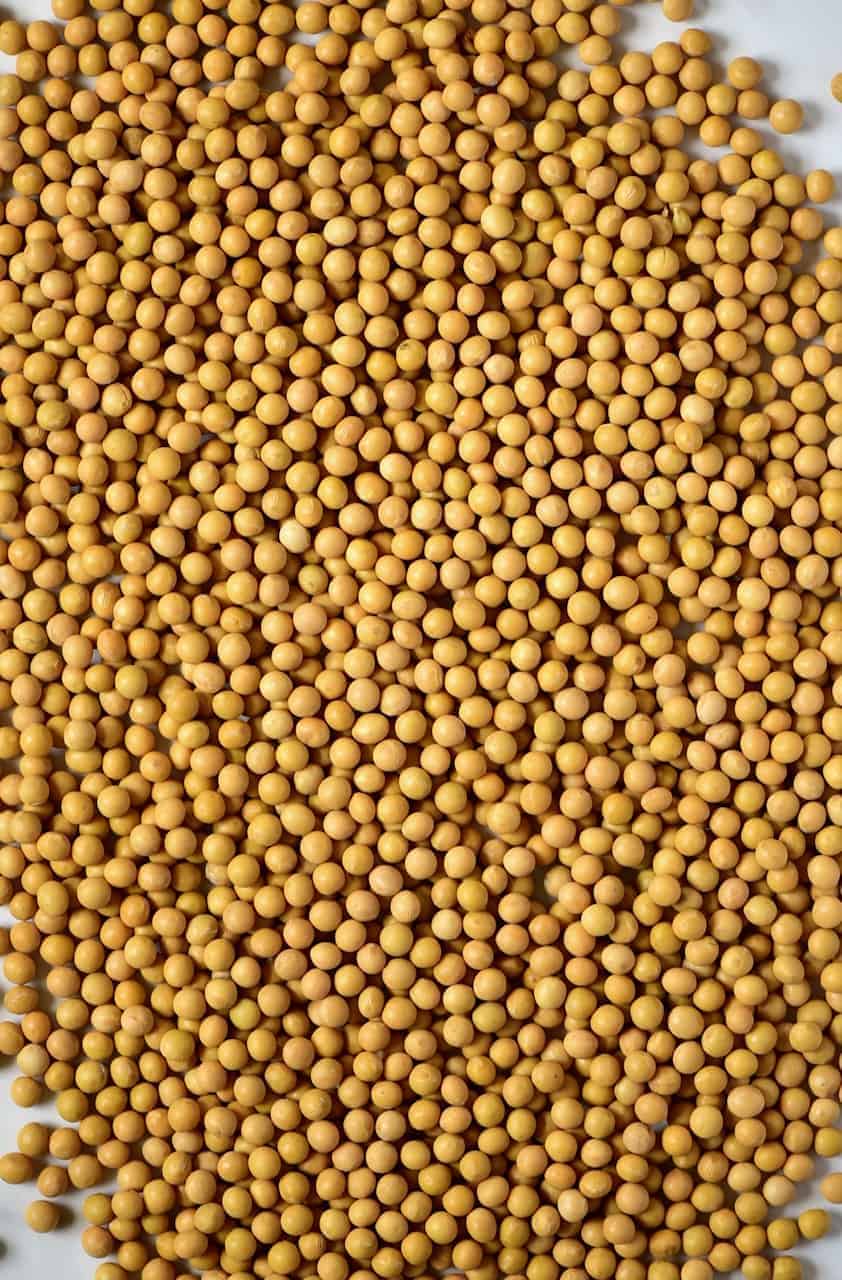
- 1 cup soybeans
- 8 cups filtered water
This easy recipe offers nutritious plant-based milk with a variety of health benefits.
How To Make Soy Milk
1. Start by soaking the soybeans in water for at least 6 hours, or overnight. If you have trouble digesting beans, add a splash of apple cider vinegar during the soak to reduce phytic acid.
2. After soaking, peel the beans for smoother soy milk. This step is optional but quick and easy.
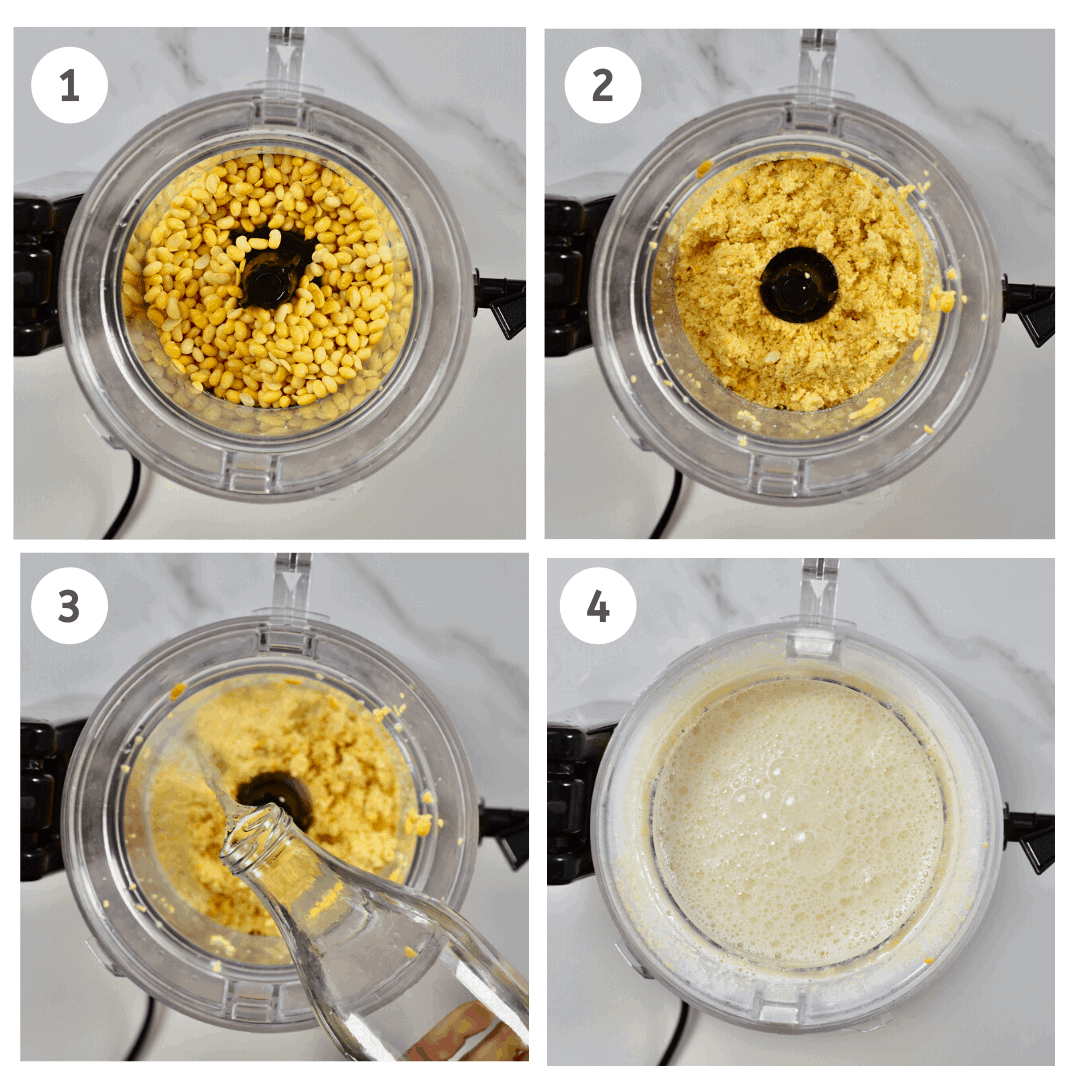
3. Add the soaked beans to a high-speed blender and blend for 10-15 seconds to break them down slightly. Then, add water and blend until smooth and creamy.
4. Strain the blended mixture through a nut milk bag or cheesecloth into a large pot. This step ensures no bean bits burn during cooking.
5. Transfer the mixture to a saucepan and boil over medium heat, stirring regularly. Once boiling, cook for 3-4 minutes, skimming off any foam that forms on top.
6. Reduce the heat and let the mixture simmer for 15-20 minutes, stirring occasionally to prevent sticking.
7. Turn off the heat and let the milk cool slightly. Then, strain the mixture through a nut milk bag to remove any remaining solids.
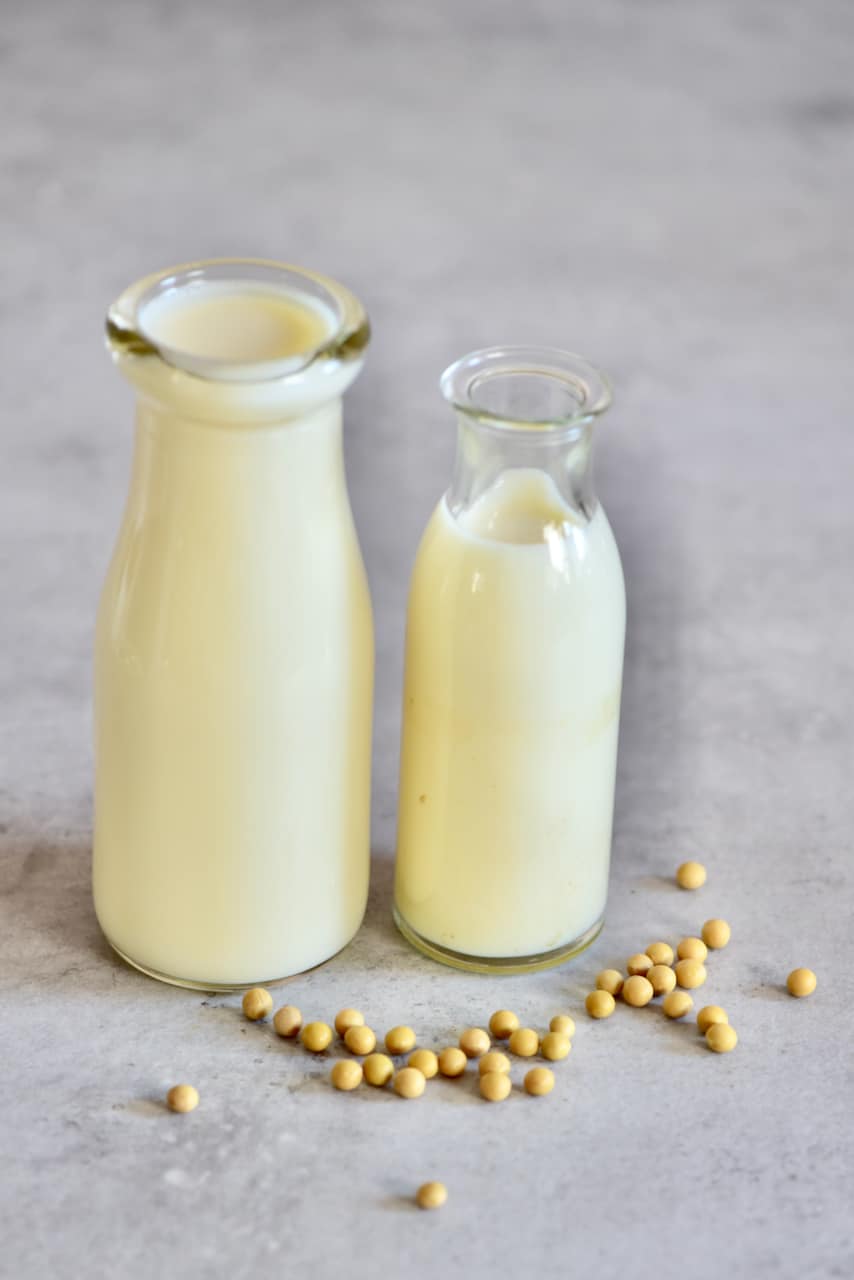
8. Transfer the soy milk to a bottle and store it in the refrigerator for 3-5 days. If it begins to smell or taste sour, it’s time to discard it.
9. You can freeze soy milk for 3-6 months, but note that freezing might affect the texture, not the nutritional content.
Making homemade soy milk allows you to control the ingredients and avoid unnecessary additives. With these simple steps, healthy plant-based milk will be ready for use.
Homemade Soy Milk Recipe Variations
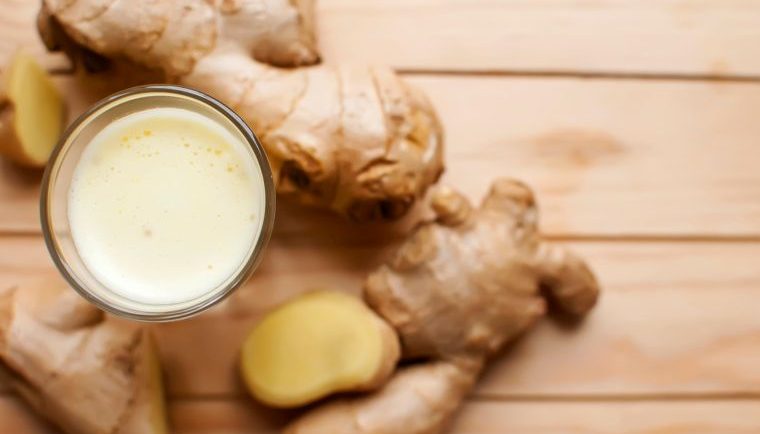
While some prefer to keep dairy-free recipes simple, plain soy milk may not suit everyone’s taste. To enhance your flavour, you can experiment with various sweeteners and additives.
Use dates or maple syrup instead of refined sugar for natural sweetness. You can also incorporate spices or add-ins like homemade vanilla extract, cinnamon, or cacao powder.
For more articles on drinks, check here.